Users can either create their custom SVG icons or download them and use them for tiles instead of the default ones.
Use case: Let us assume that the user wants to modify the tile icon for the New Stock Item Tile in the Inventory Workspace of Acumatica (refer to screenshot 1).

To modify the Workspace icons, follow the below-mentioned steps:
- Download/create an SVG icon.
- Copy this SVG file to [instance_name]/Content/svg_icons folder (screenshot 2)-

- Open this file in Visual Studio.
- After you open it, the file will contain the below code. The following code is an example of the SVG file we downloaded in this blog- screenshot 3-

- Now enter the below-mentioned code surrounding the <path> tag.
| <symbol id= “new stock”> <path d= “…”> //this tag is already present </symbol> |
- id: represents the ID of the icon.
viewBox: represents the coordinates of the icon. The dimensions defined in viewBox should be for a square layout of the icon. Since the viewBox attribute is already present in the code, there isn’t any requirement to add a new one. You can even remove the viewBox attribute from the <svg> tag and put it in the <symbol> tag. If there are multiple icons in one svg file, make sure the correct values have been specified for each.
- And hence, save the file- screenshot 4.

- Now log in to Acumatica with the credentials to edit the Menu page.
- Now click on the More menu (three dots) in the lower left bottom of the screen, and select the Edit Menu option (screenshot 5).

- This will change the screen into Editing mode.
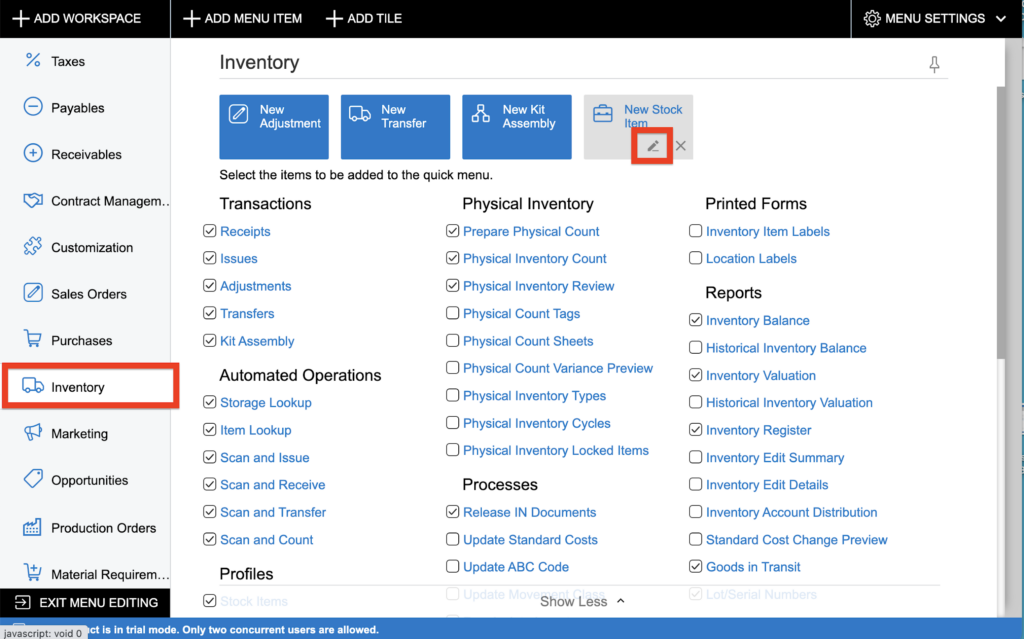
- Now select the Inventory menu item to expand its workspace.
- And then select the pencil icon for the New Stock Item tile (screenshot 6).
- Select the new_stock option from the dropdown menu of Icon, see Screenshot 7.

- And then click on OK, screenshot 8.

- And at last, select the Exit Menu Editing option in the lower left bottom of the screen (screenshot 9).

- Refresh your browser. Hand hence, the required modifications have been made as in screenshot 10.

To learn more capabilities of Acumatica, contact us at info@germinit.com.
What We Do – GerminIT, one of the oldest ERP providers, is well known for its ERP implementation and customizations. We provide complete end-to-end assistance for data migration, system integrations, technical consultations, and implementation competence, third-party add-on development, and product customizations for clients across the US, UK, Middle East, Australia, Asia, and Africa.