Acumatica ERP, with its flexibility to customize any screen, allows its users to modify the system as per their requirements. Whether it is renaming fields/columns/tabs or hiding any element, or adding new fields, with Acumatica, users can easily tailor their instance efficiently without any coding requirements. Just with the help of Customization Project Editor, users can simply modify the elements. And in this blog today, we will be adding a new report to a standard screen of Acumatica.
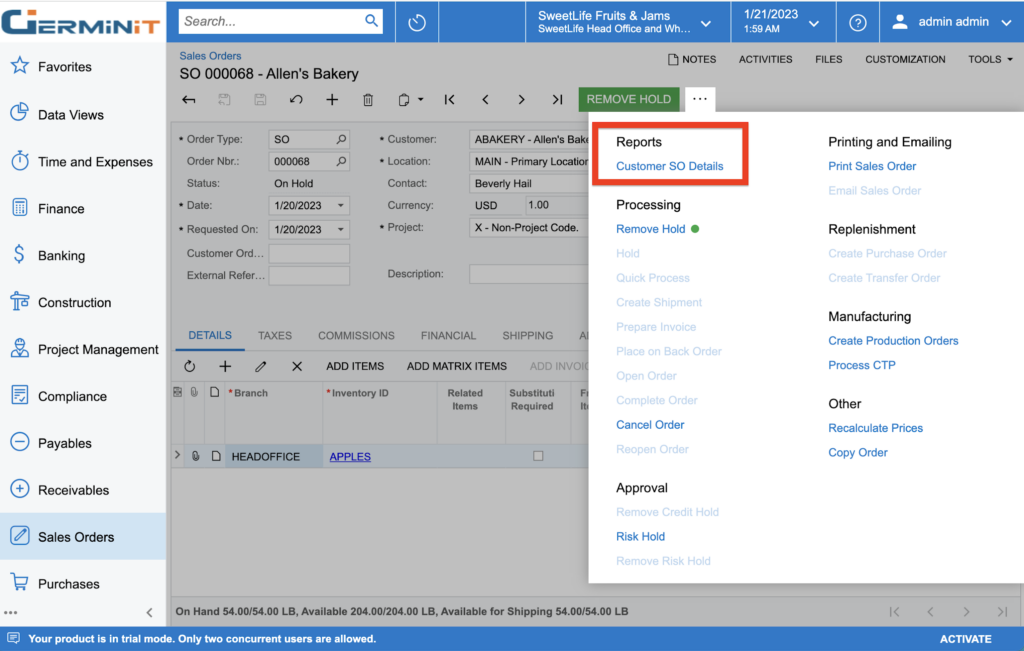
Use Case: Let us assume that the user wants to add a new report of Sales Order Details by Customer (SO611000) in the Sales Orders (SO301000) screen so that they can view all the sales made by the customer for the respective period of the month.
The steps to add a new report on a screen are:
- After logging into Acumatica, create a new project in Customization Projects (SM204505) form.
- Add the Sales Orders (SO301000) screen to customize.
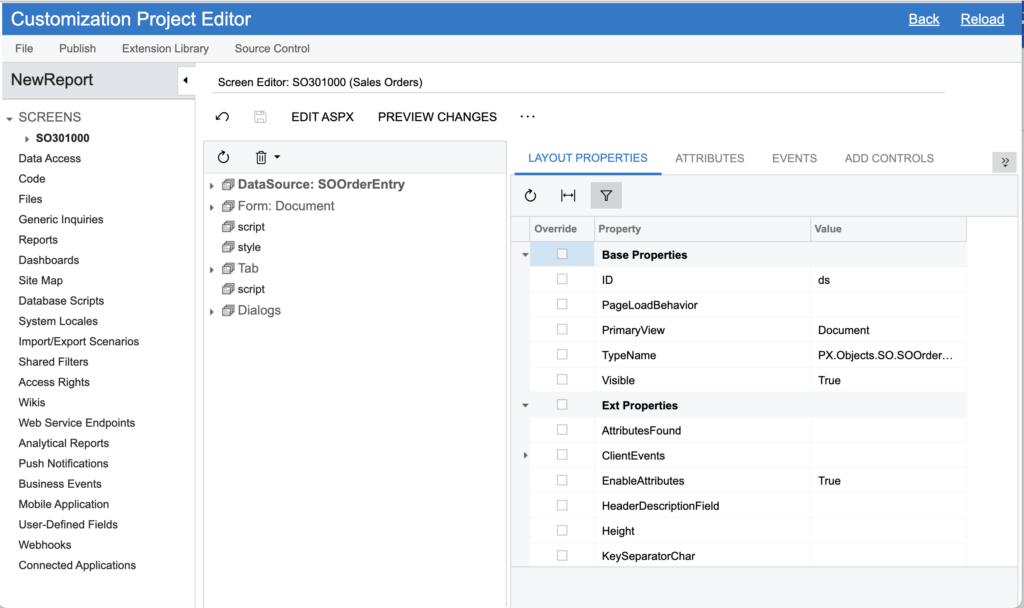
- Open it in the Customization Project Editor.

- Now navigate to the Actions category under the SCREENS section in the left pane.
- Click on the ‘+’ icon to add a new Action.

- Enter the Action Name, Display Name, the category where is report is to be displayed, the destination screen to which the screen should get redirected upon clicking it, and other required elements.
- In the Navigation Parameters tab, enter the parameters required to run the report, as shown below.

- Click on the OK button.
- And last, publish the project.
- Hence, the required report has been added to the Sales Orders (SO301000) screen.

To learn more capabilities of Acumatica, contact us at info@germinit.com